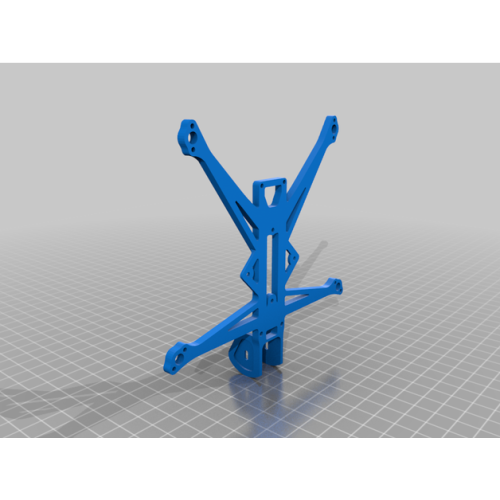
Nano Long Range Frame PETG
Availability:
In stock
SKU
4343
₹400.00
Please Note : This is a 3d printed frame , does not include electronnics . The product is not ready 3d printing the frame will take 1 to 2 working days .
Please inform us the preferred colour for the 3d print .


Link on Thingverse : https://www.thingiverse.com/thing:4769576
Summary
About
- The #NanoLongRange basically a small FPV quadcopter designed around a single 18650 Lithium-Ion Battery
- The whole thing is still somewhat experimental and you shouldn't expect any sort of spectacular flight performance out of something that weighs 100g and runs on only 3V.
But it's still better than I expected and a lot of fun to cruise around and there is something really neat about just popping in a battery like on the remote of TV and having this thing fly for over ten minutes. -
This version is fully 3D printed apart from the battery tray to be a fun DIY project and not require souring any carbon parts.
-
Youtube Video about the NanoLongRange: https://youtu.be/hvgukykBTNo
- Please note: This build isn't super easy because the components are tiny. A steady hand and minimum experience with soldering is required.
Shopping List (Doesn't have to be these exact products, but they should be similar):
- Keystone HA 1X18650 SA battery tray or this knock-off from Aliexpress
Important: You will need a good Battery holder, if possible with gold plated contacts. The cheap ones with a helical spring will not work - High discharge 18650 battery: Sony Murata VTC6, VTC5A or similar
- 1S AIO Flight Controller: HGLRC Zeus or the Budget Option JHEMUC 1-2S
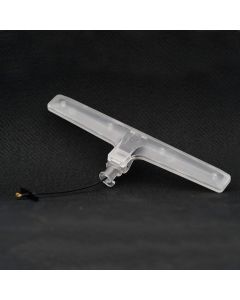
- Video Transmitter: HGLRC 350mW or an Eachine Nano VTX
- Motors: HGLRC 1202.5 11000kV or Flywoo 1202.5 11500kV
- FPV Camera: Caddx Ant
- 5V Step-up
- 5V LC Filter
- Props: Gemfan 3018
- Small stuff: Four M2x8mm screws, superglue, and some electrical tape
Build Instructions:
- Print in PLA or PLA+ at 20% infill. You can cure it in an oven or on the hotbed with a cover at 80 celsius for 45min to make it stronger
- Remove the little plastic knob on the bottom of the battery tray
- Drill four 2mm holes in the tray exactly where the holes in the printed parts are
- Apply some glue on where the print and the tray join
- Use the M2 screws to mount
- Wiring: Check the wiring instructions in the pictures. Please make sure you know what you are doing and have basic knowledge of FPV drone building. If you are new to it Joshua Bardwell's Youtube and Oscar Liang's blog are great resources to learn the basics.
PID Tune:
- set p_pitch = 100
- set i_pitch = 50
- set d_pitch = 70
- set f_pitch = 125
- set p_roll = 90
- set i_roll = 45
- set d_roll = 65
- set f_roll = 125
- set p_yaw = 65
- set i_yaw = 20
- set d_yaw = 0
- set f_yaw = 125
Write Your Own Review
Customer Questions
Who Viewed This Also Viewed
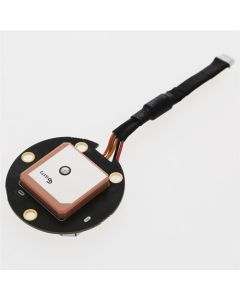
DJI Phantom 3 Part 1 GPS Module (PRO/ADV)
Special Price
₹4,000.00
Regular Price
₹14,250.00
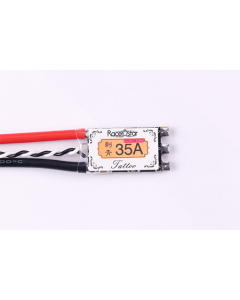
Racerstar TATTOO 35A BLheli_32Bit 2-5S RaceSpec Brushless ESC (Set of 4)
Special Price
₹7,000.00
Regular Price
₹8,000.00

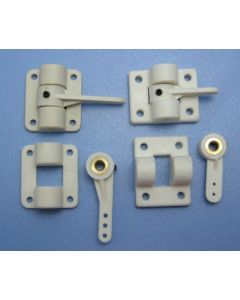

Frsky Taranis X9D Plus Transmitter Shell (BLAZING SKULL)
Special Price
₹3,280.00
Regular Price
₹3,708.99